
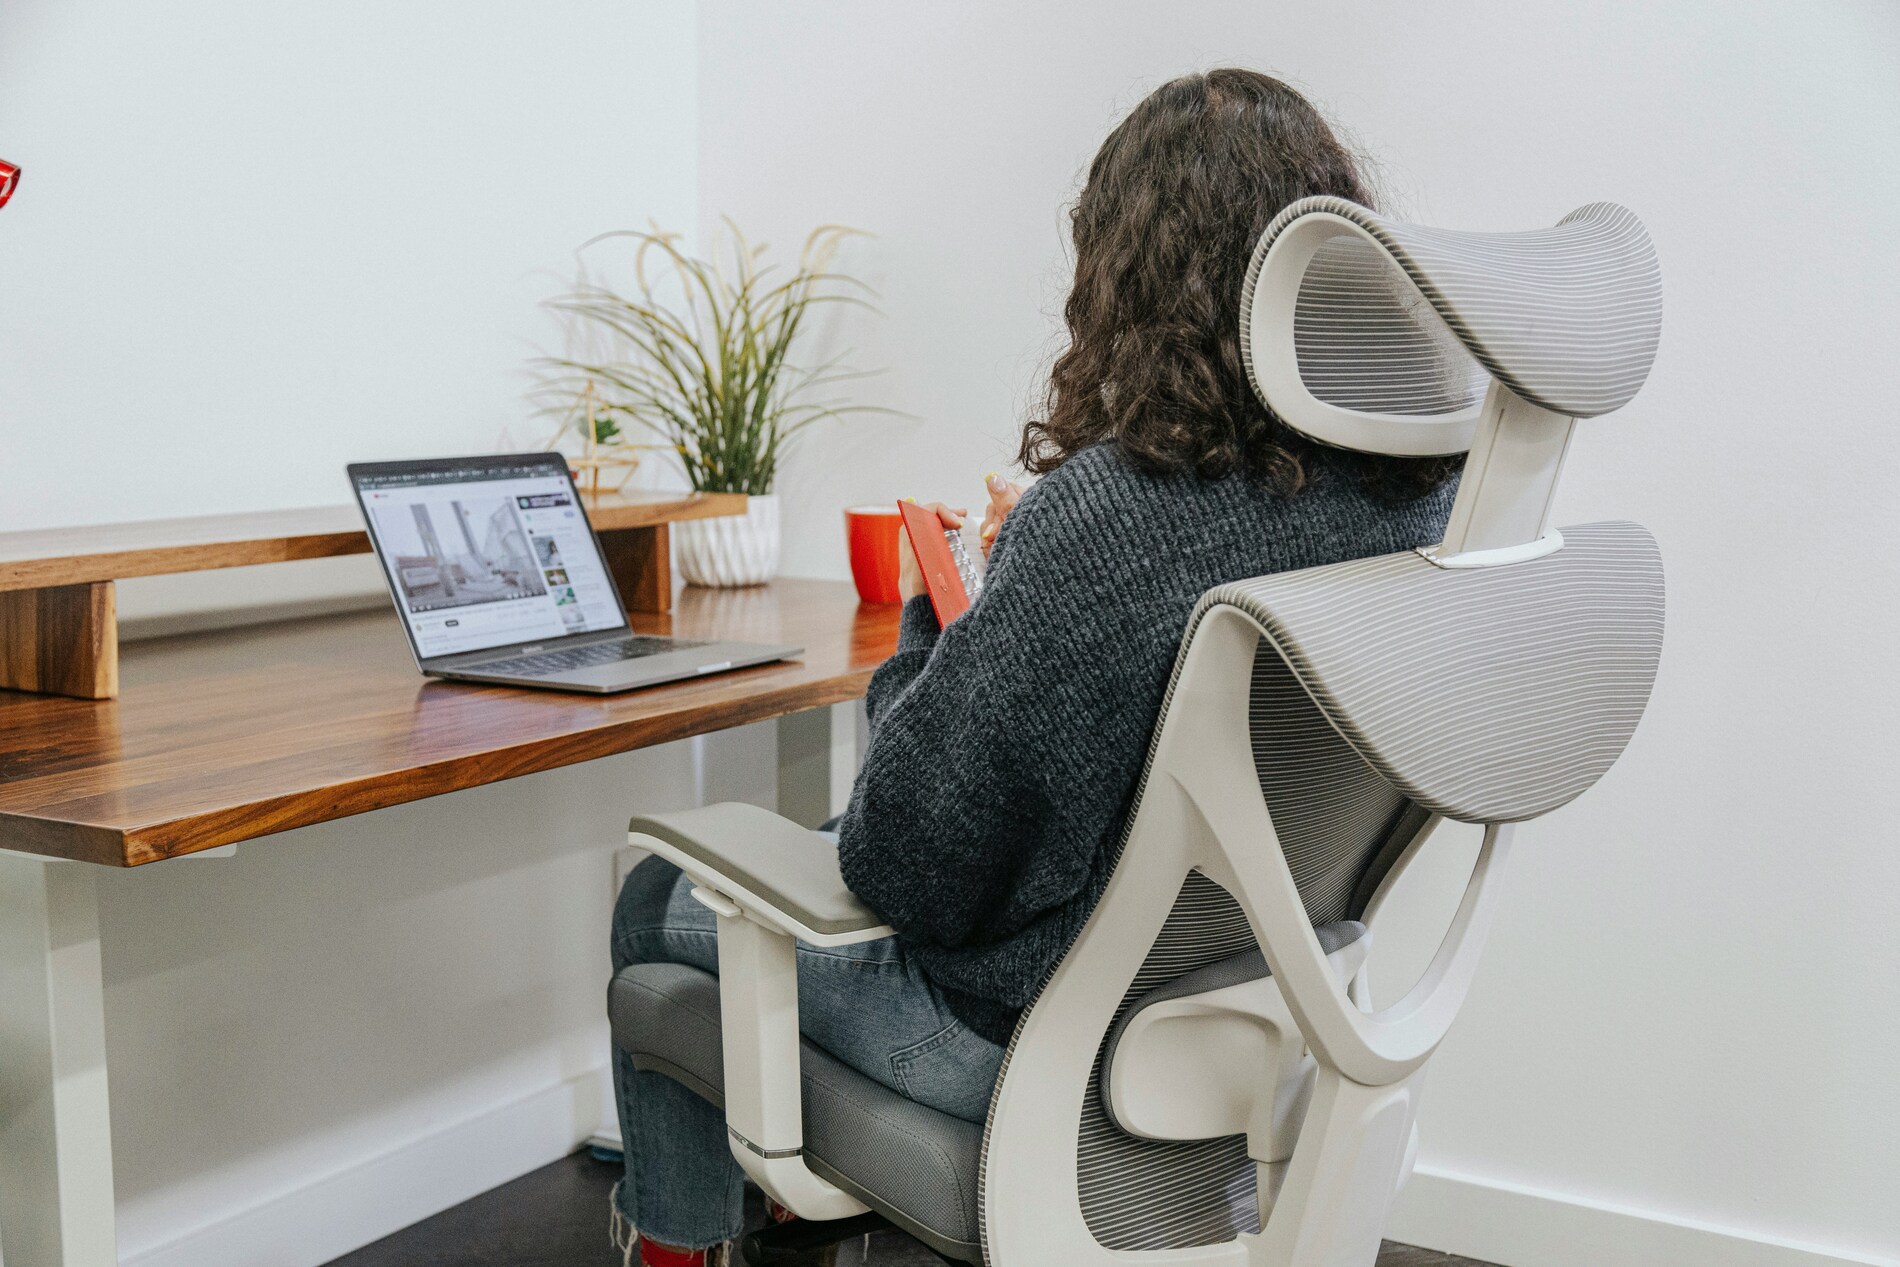
You drop into your office chair at 9:00 AM, and by 2:00 PM, your shoulders feel like they are slowly fusing to your ears. Your neck is stiff, your lower back is throbbing, and you find yourself constantly shifting your weight, searching for a comfortable angle that simply does not exist.
Most people blithely blame “getting older” or a bad mattress for their daily aches.
The primary culprit is usually much closer to home: a poorly arranged workstation that silently forces your body into a constant state of physical defense. Trying to fix this by relying on willpower alone to “sit up straight” is a losing strategy. To eliminate chronic desk fatigue and support your posture, you need to design an ergonomic home office setup that works with your anatomy rather than against it.
The Biological Toll of the Desk Slump
Your body is fundamentally designed for dynamic movement, not for remaining frozen in a static 90-degree fold for eight hours straight. When your computer monitor sits too low or your chair height is off, your musculoskeletal system compensates immediately.
Slinking forward in your chair overstretches the connective ligaments in your upper back, cuts off optimal circulation to your legs, and compresses your diaphragm, making your breathing shallow. This reduced oxygen intake combined with constant micro-muscular tension is precisely what triggers that heavy afternoon brain fog and physical exhaustion. Reorganizing your workspace structurally unloads this mechanical stress, allowing your joints to align naturally so your muscles can finally relax.
The 4-Point Ergonomic Alignment Blueprint
To transform your home office into an environment that actively supports physical recovery, run through this structural setup guide:
- Eye-Level Screen Alignment: Prop your primary monitor up on a riser or arm so the top 10% of the screen aligns directly with your horizontal gaze. If you are using a laptop, pair it with an external keyboard and mouse so the screen can sit at eye level.
- The 90-Degree Elbow Rule: Adjust your desk or chair height until your elbows bend comfortably at a 90-to-100-degree angle, allowing your forearms to rest parallel to the floor without shrugging your shoulders.
- Supported Lumbar Curve: Adjust your chair’s backrest to support the small of your lower back. If your chair lacks built-in support, roll up a small hand towel and place it horizontally behind your lower spine.
- Flat Foot Grounding: Lower your chair or use a dedicated footrest until both feet sit completely flat on the floor with your knees bent at 90 degrees, taking the pressure off your hamstrings and lower back.
Pro-Tip: Check your lighting depth. Position your desk perpendicular to windows rather than directly in front of or behind them. Direct glare forces you to lean forward and squint at your screen, which unconsciously drags your chin into “tech neck” territory regardless of how well your chair is adjusted.
Your First Step: The 24-Hour Upgrade
You do not need to spend thousands of dollars on a brand-new standing desk or a high-end designer chair to upgrade your setup today. Let’s make a single, high-impact adjustment over the next 24 hours.
Before you start work tomorrow morning: Grab two thick hardback books from your bookshelf or a sturdy shoe box, and place them directly under your laptop or monitor stand. Raising your screen just 8 to 10 cm higher immediately stops your chin from dropping toward your chest, instantly relieving the physical pressure on your neck and upper back before your first video call begins.