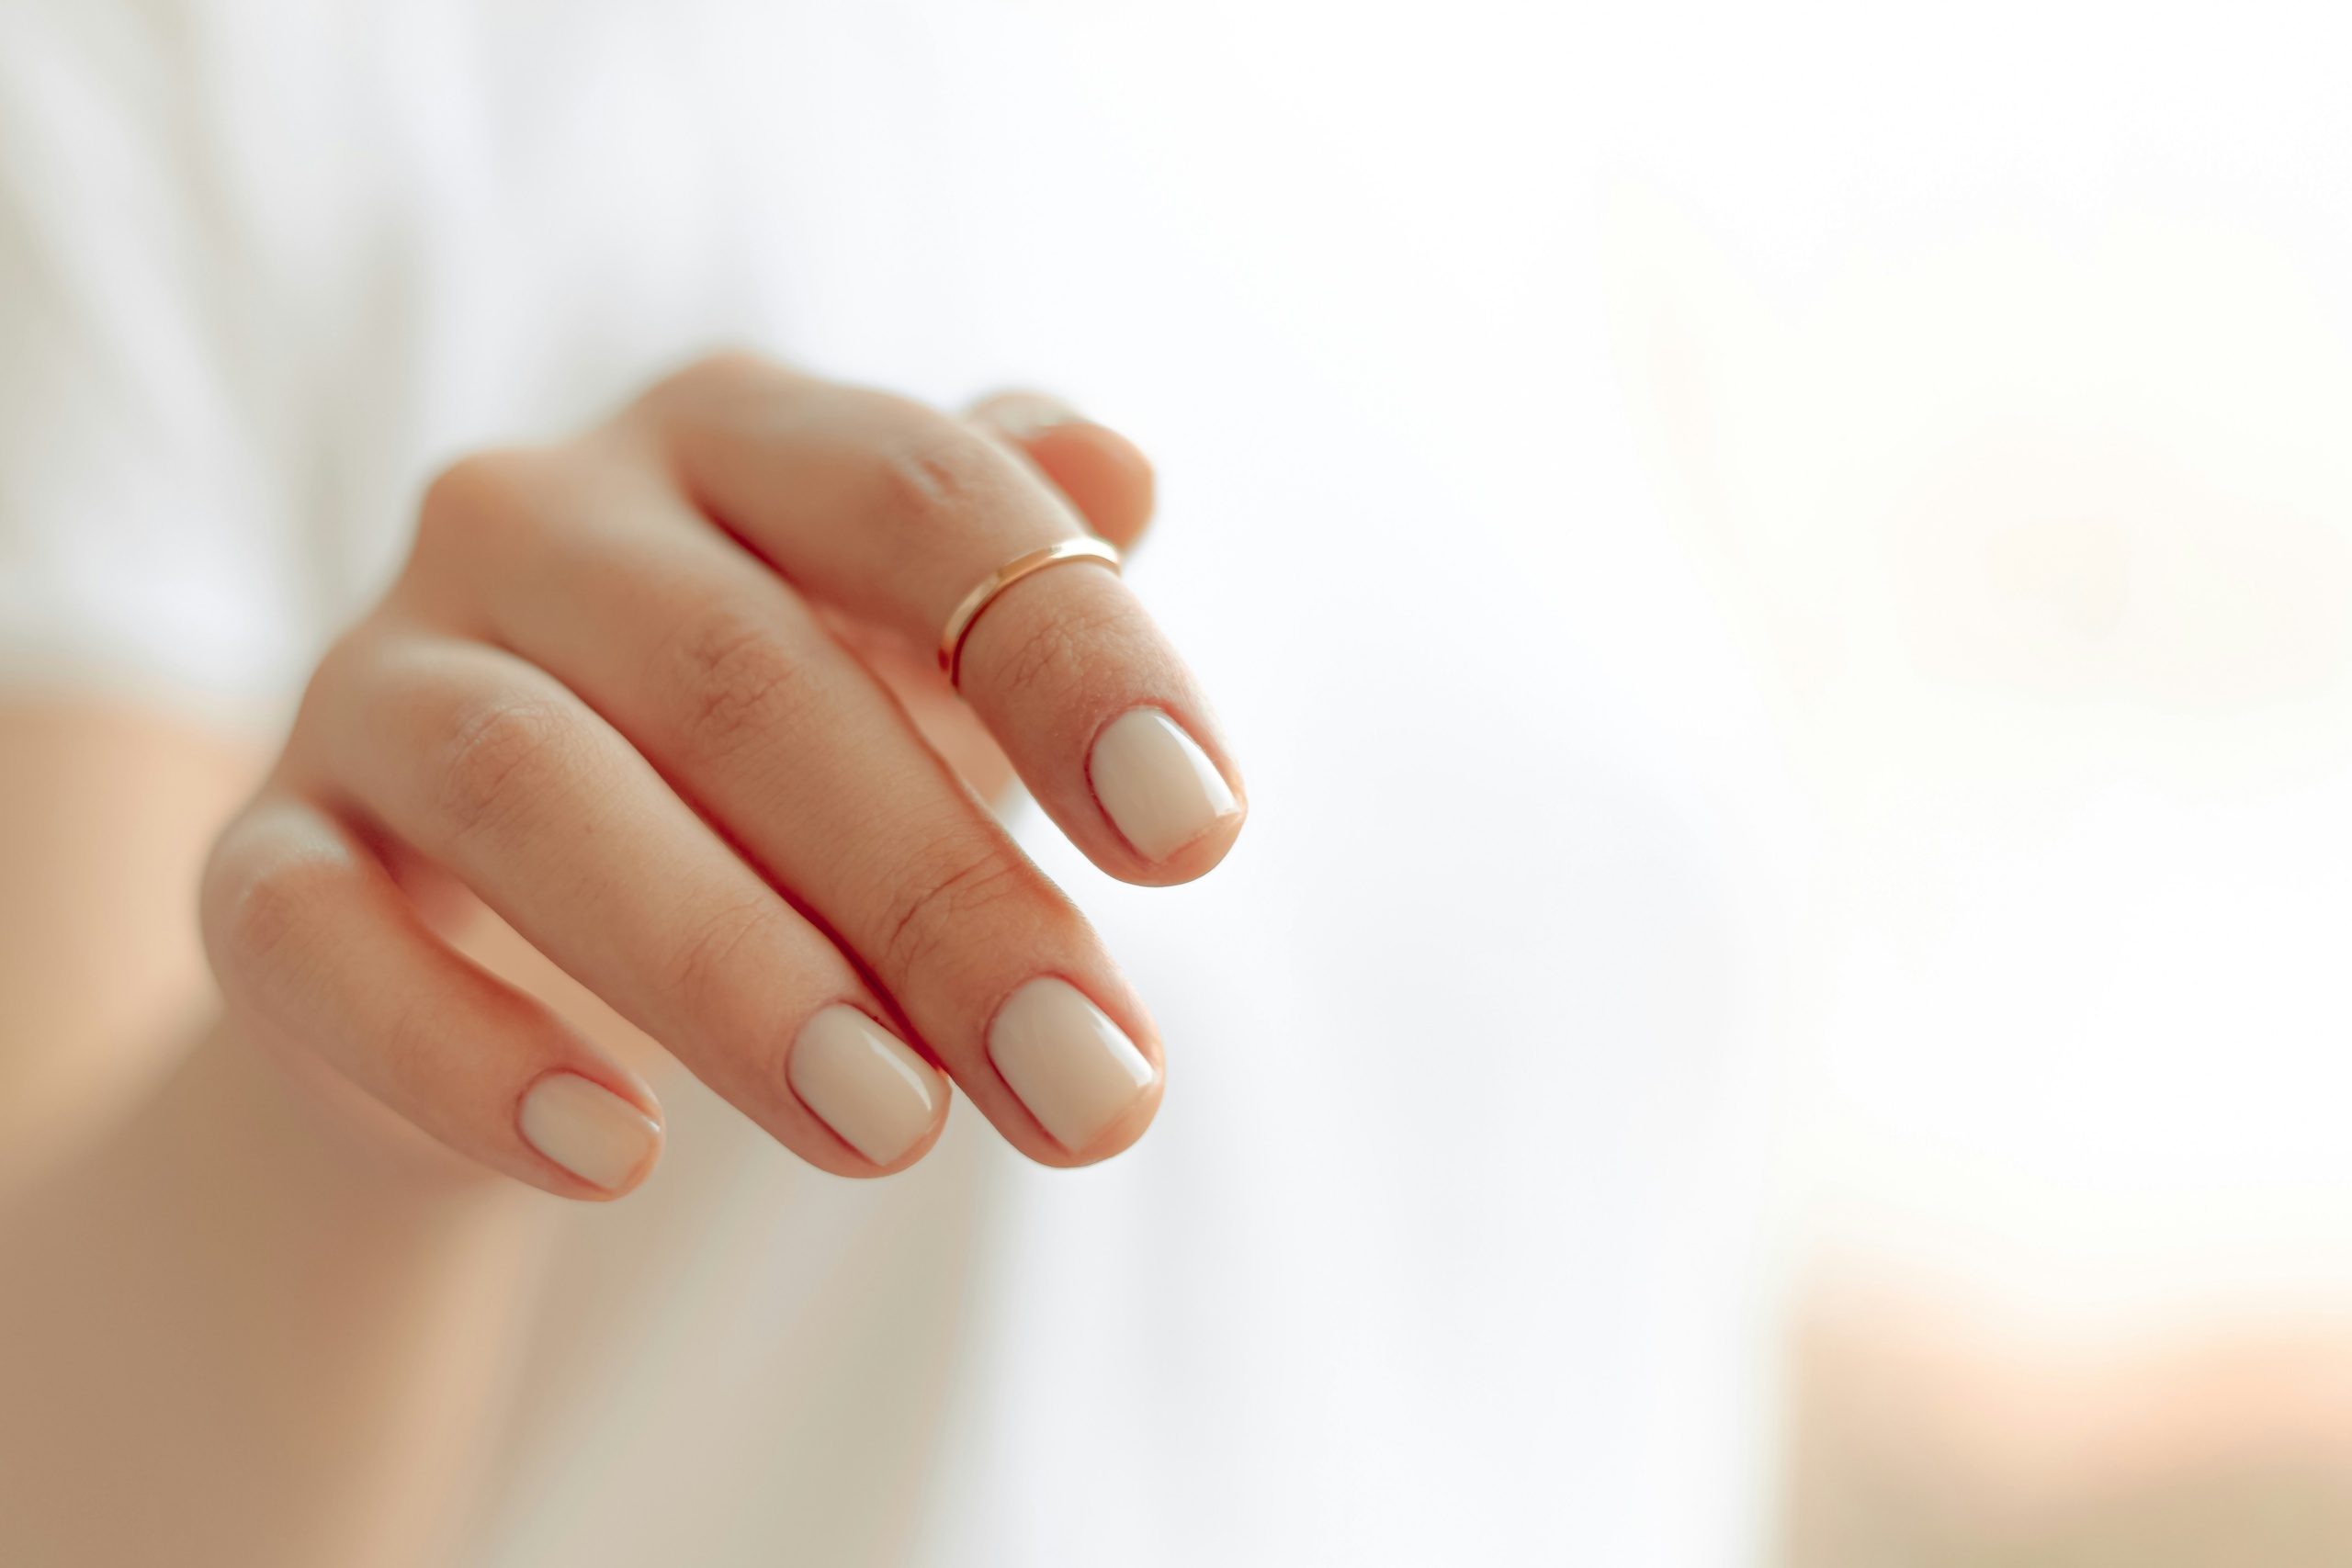
Giving yourself a manicure and pedicure at home can be a relaxing and cost-effective alternative to a trip to the salon. It also allows you to control the products and tools you use, making it a great option for those with sensitivities or specific preferences. Here’s a step-by-step guide to achieving beautiful nails from the comfort of your home.
Gather Your Supplies
Before you begin, make sure you have all the necessary tools and products on hand:
- Nail polish remover
- Cotton pads or balls
- Nail clippers and/or scissors
- Nail file or emery board
- Cuticle pusher or orange stick
- Cuticle remover (optional)
- Exfoliating scrub
- Moisturizer
- Base coat
- Nail polish
- Top coat
- Nail polish thinner (optional, for thickened polish)
Prepare Your Nails
Start by removing any old nail polish with a non-acetone nail polish remover. Acetone-based removers can be harsh on nails and cuticles, so it’s best to avoid them if possible.
Once your nails are clean, trim them to your desired length with nail clippers or scissors. If needed, file them into your preferred shape using a nail file or emery board. It’s important to file in one direction to prevent splitting and damage.
Push Back Your Cuticles
Soften your cuticles by soaking your nails in warm water for a few minutes. If you have a cuticle remover, you can gently push them back using a cuticle pusher or an orange stick. Be careful not to cut or damage the cuticles, as they help protect the nail bed from bacteria and infection.
Exfoliate and Moisturize
To exfoliate your hands and feet, use a gentle scrub to remove dead skin cells and smooth the skin. Rinse thoroughly and pat dry.
Next, apply a rich moisturizer to your hands and feet, paying extra attention to the cuticles. This will help hydrate the skin and keep your nails healthy.
Apply a Base Coat
A base coat creates a smooth surface for your nail polish and helps prevent staining. Apply a thin, even layer of base coat to each nail and allow it to dry completely before proceeding.
Apply Nail Polish
Choose your desired nail polish color and shake the bottle well before applying. Start with a thin layer of polish, using the brush to carefully apply it from the base to the tip of the nail. Allow the first layer to dry completely before applying a second coat if needed.
Apply a Top Coat
A top coat adds shine and helps protect your nail polish from chipping. Apply a thin, even layer of top coat to each nail, making sure to seal the edges. Allow it to dry completely before touching or applying pressure to your nails.
Clean Up
If you accidentally get polish on your skin, you can use a cotton swab dipped in nail polish remover to clean it up. Be gentle and precise, as harsh scrubbing can remove the top layer of polish.
Enjoy Your Beautiful Nails
Once your nails are dry, you can enjoy your at-home manicure and pedicure! Avoid exposing your nails to water or other harsh chemicals for at least an hour to ensure the polish has fully set.
Tips and Tricks:
- For longer-lasting nail polish, apply a thin layer of top coat every two to three days to help seal and protect your nails.
- To prevent smudging, wait at least two minutes between each coat of polish.
- Avoid using old or thickened nail polish, as it can be difficult to apply and may not dry properly.
- If you’re having trouble with streaky polish, try rolling the bottle between your palms instead of shaking it. Shaking can create air bubbles, which can lead to streaks and bubbles in your polish.
- Keep your nail tools clean and well-maintained to prevent the spread of bacteria and fungi.
- If you have any concerns or questions about your nails, consult a dermatologist or healthcare professional for advice.
Doing your own manicure and pedicure at home can be a rewarding and cost-effective way to keep your nails healthy and beautiful. With the right tools and products, you can achieve salon-quality results without leaving the comfort of your home.


